Quilled Fish - Edge Technique
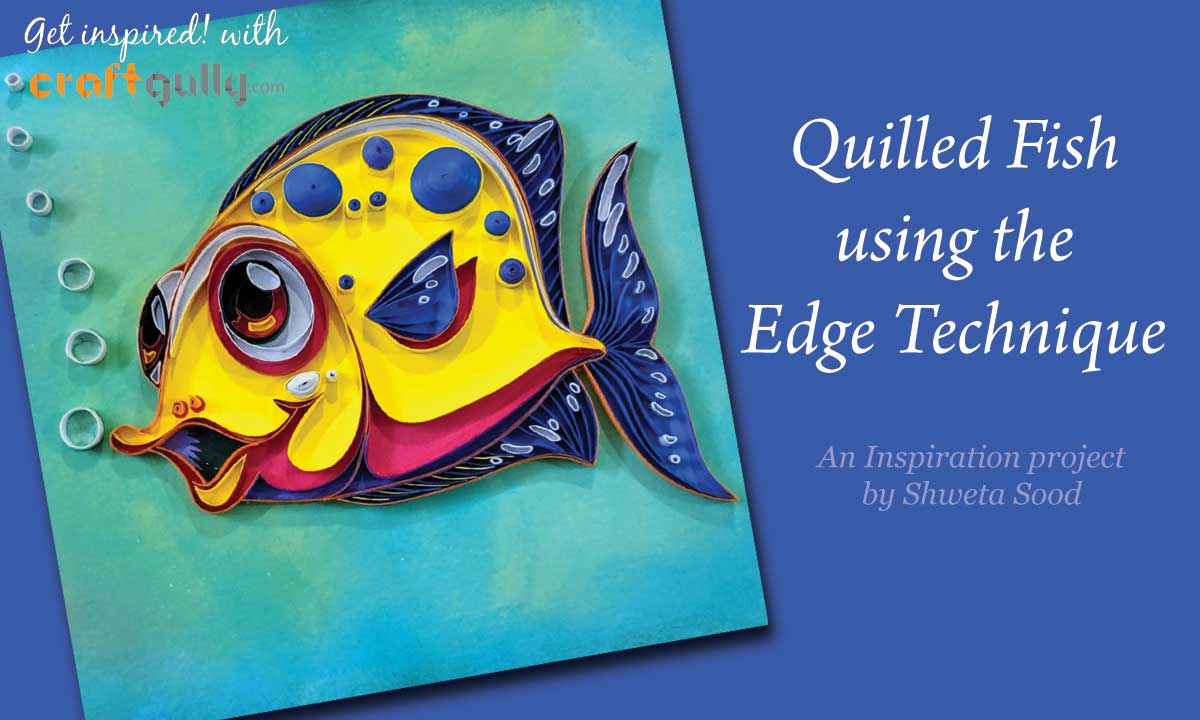
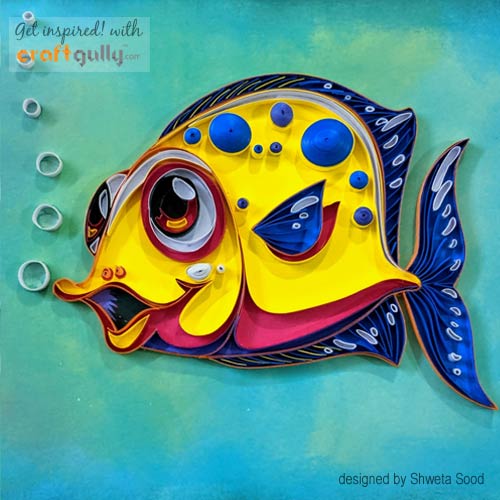
Hi friends, today I want to share my new work that I have done with latest CraftGully products.
What more can you ask if you can get co-ordinating colour sheets with quilling strips. Yes that is what the CraftGully Edge Quilling Kit offers you.
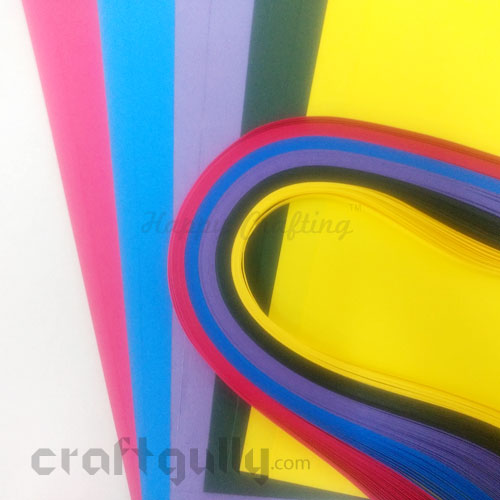
I did not have to mix and match cardstock for the base of my new work, the Quilled Fish. I simply got this Edge Quilling Kit which has both the base sheets and Quilling strips of the same colours. Here is a small picture tutorial on how I worked on this project.
First I picked up a picture from free downloadable content that I wanted to quill. Then I selected the papers and Quilling strips required for the same.
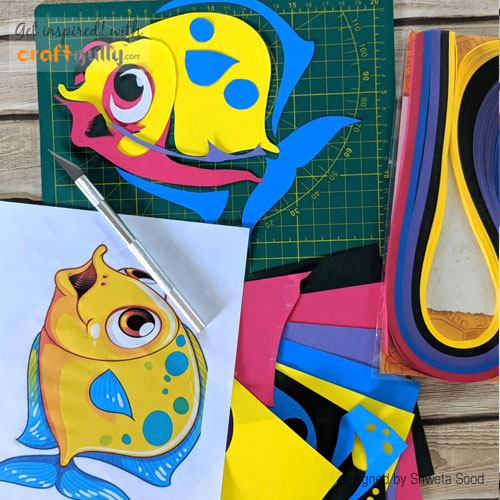
Then using a cutting mat and a cutting knife I cut out the main parts of the fish by tracing them on different required shades of the coloured base sheets. To prevent any warping I used the CraftGully CardStock as a base to paste the cut outs of the fish.
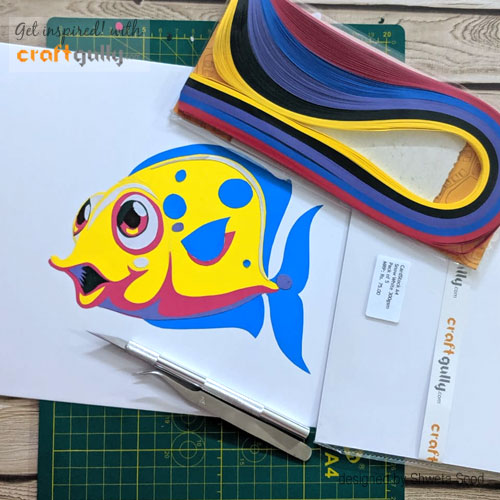
Then slowly I started to do on edge quilling with the 5mm strips provided in the pack. I started with the finer details.
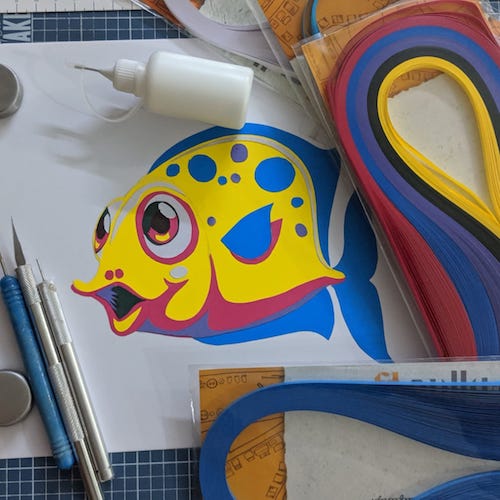
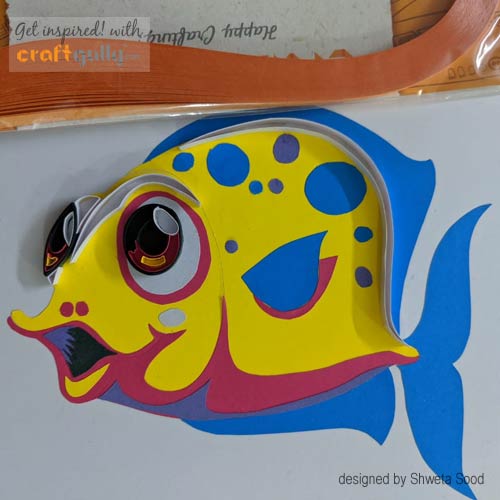
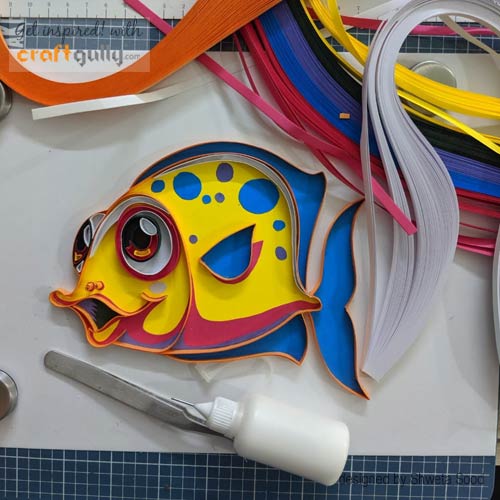
As I went on to work I realised the shades in quilling were much brighter and made my work more eye-catching than the original picture.
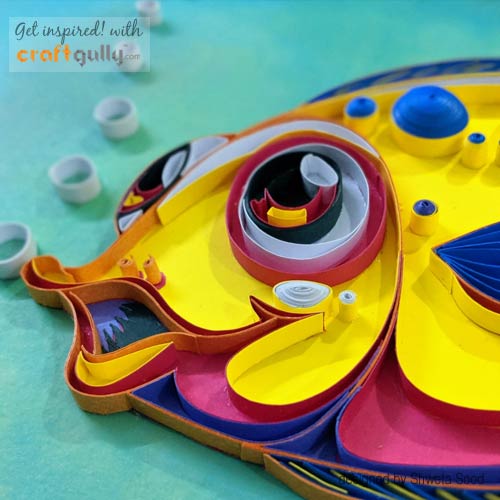
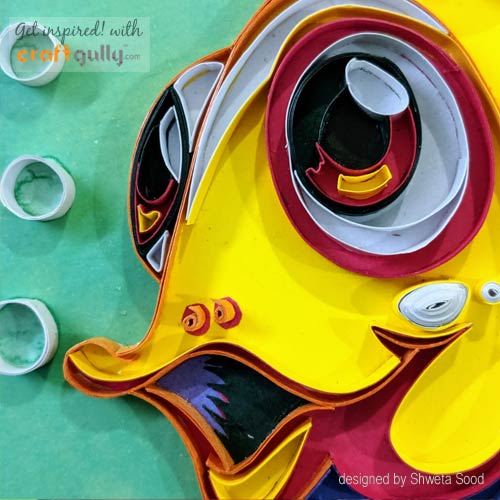
I left the large areas in the centre untouched as I felt doing more work will take away the real beauty of the fish.
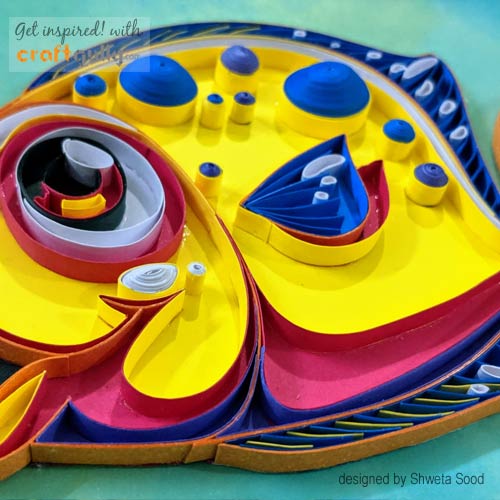
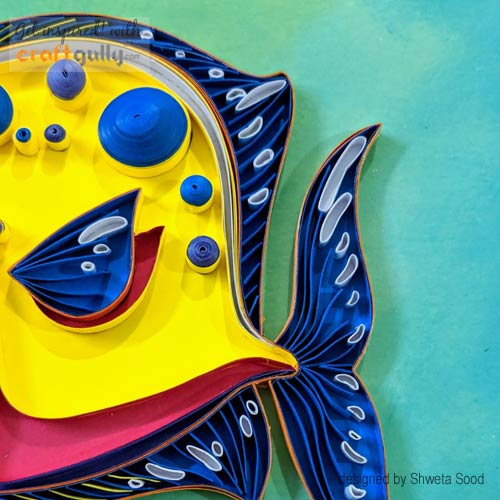
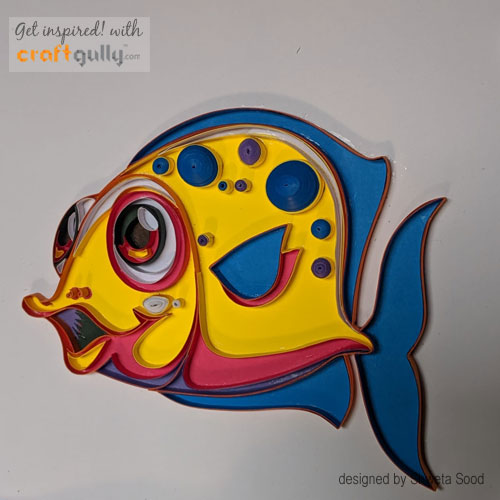
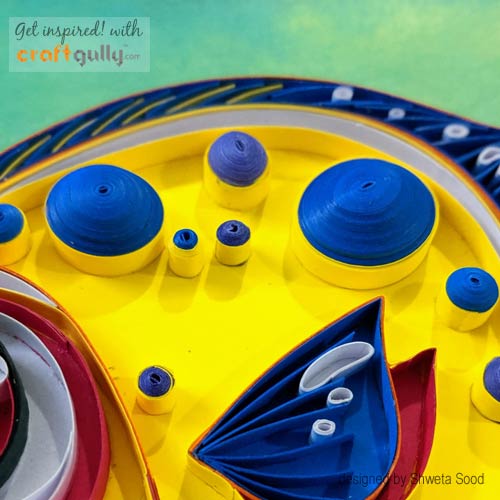
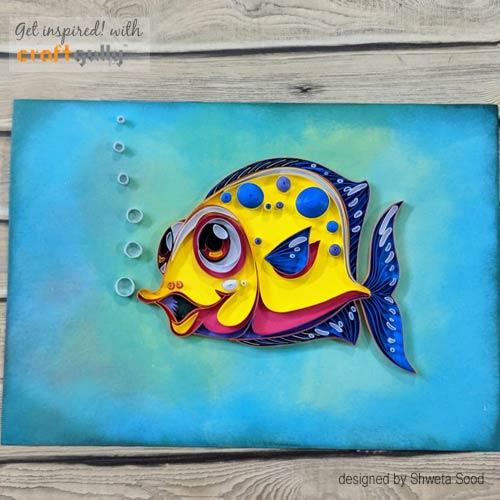
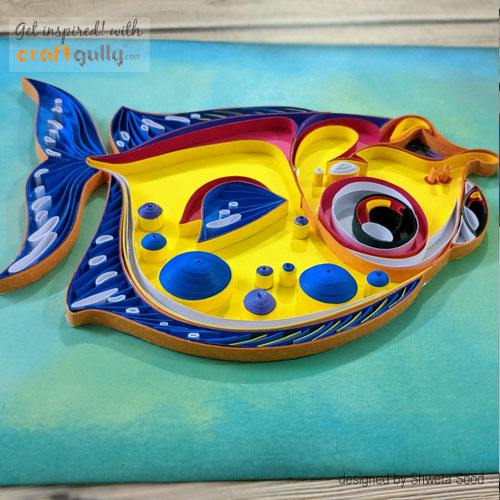
Finally I finished off by cutting out the fish and sticking it on a background which I had already prepared by distressing it in colours of sea. The bubbles made the fish all the more cute.
Craft Supplies used:


Leave a Comment