Reusable Mosaic Frames
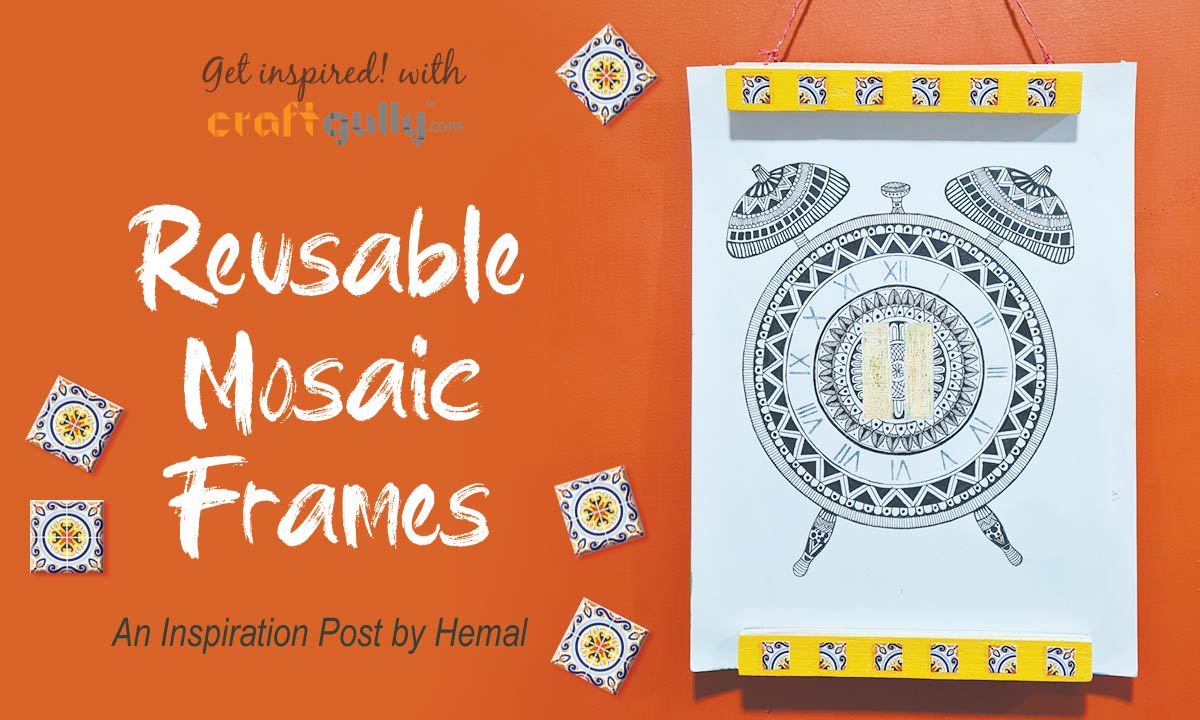
Hey Guys! This is my first contribution to CraftGully. Hope you like it!
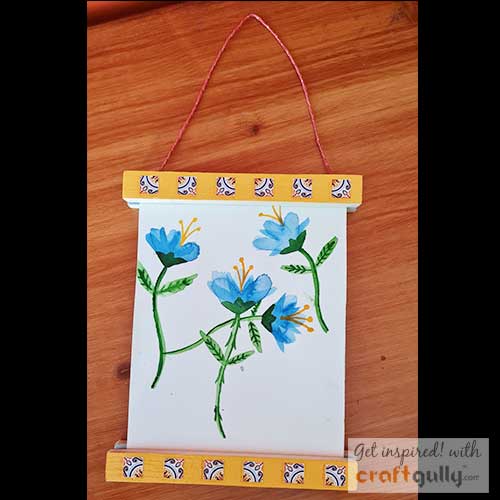
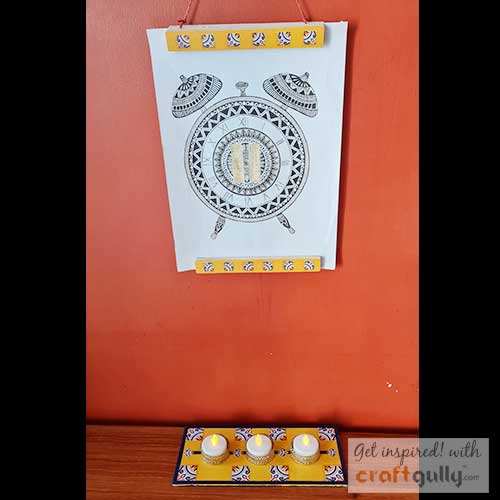
I have used the Tile Away decoupage papers in a couple of upcycling projects. The first one is a hanging magnetic frame.
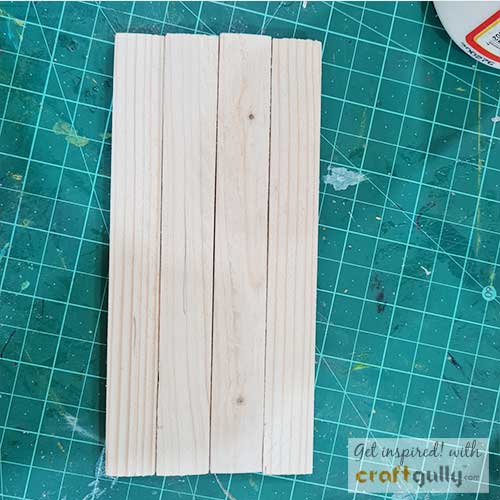
I had a few small pieces of wood extra from another project. I have sized them equally and sanded them for this project.
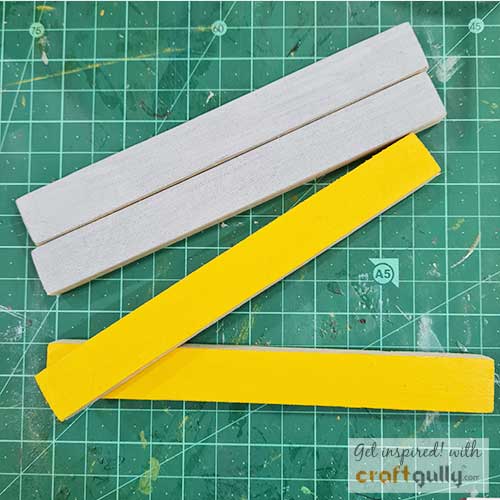
After selecting the paper of my choice, I painted two of the pieces golden yellow and painted the other two with magnetic paint. Magnetic paint basically makes the surface ready so magnets can adhere to it.
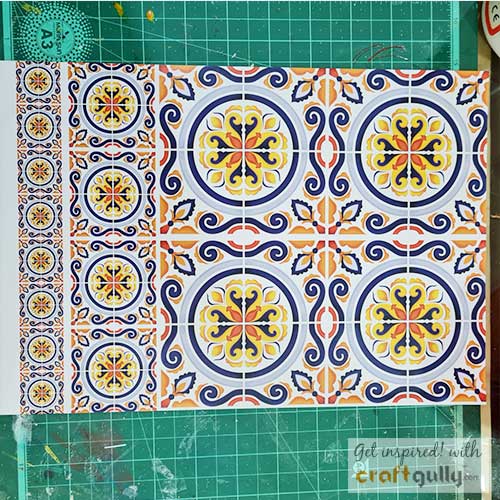
I have selected the smallest size tiles and cut them up into the smallest size.
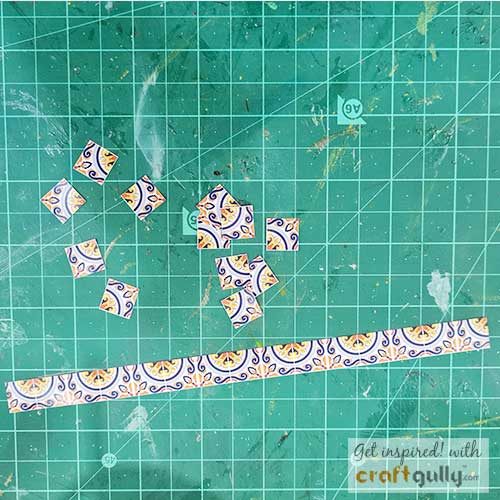
Next, I decoupaged them onto the yellow painted surface on the wood. They were placed at equal intervals and such that one piece of wood designed for the top of the frame and the other for the bottom part.
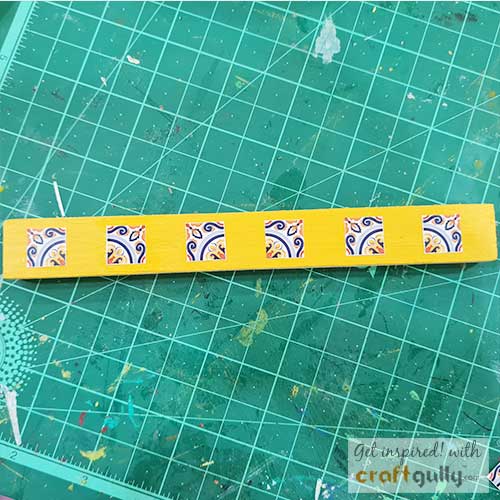
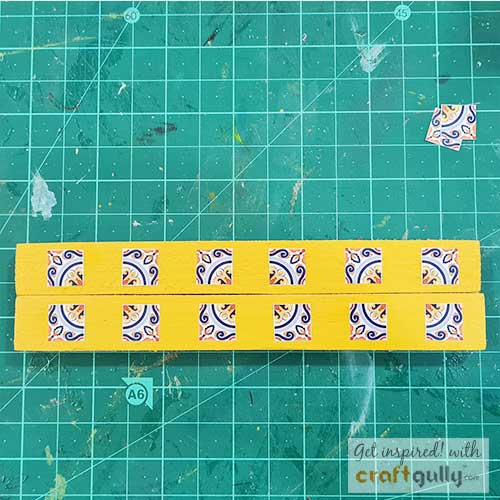
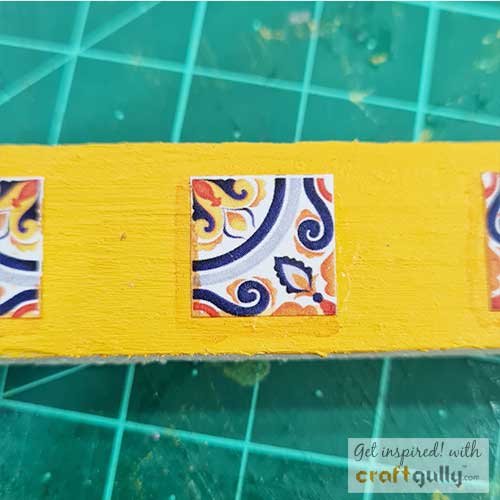
Then, using an angle brush I added a highlight to the left and bottom side of each paper tile. This was done to add a little depth and give a 3D feel to it.
On the back of the painted pieces, I stuck strips of magnetic sheet. The front side of the project is now ready.
Next, I took the pieces that were painted grey with the magnetic strip. On one piece I tied a string, as shown in the image, this is to hang the frame and forms backside of the top.
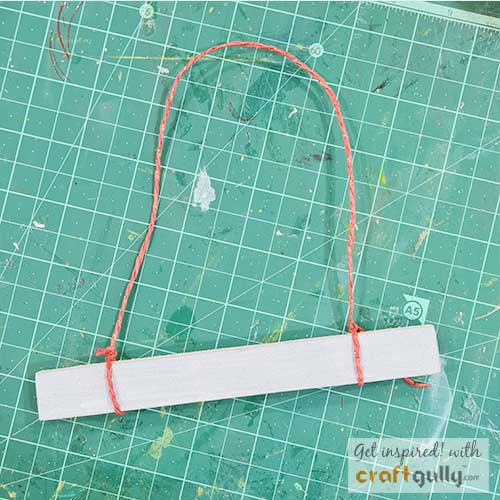
Then I cut out narrow incisions in the magnet strip in the front side that goes with this piece, for the string. Refer image below.
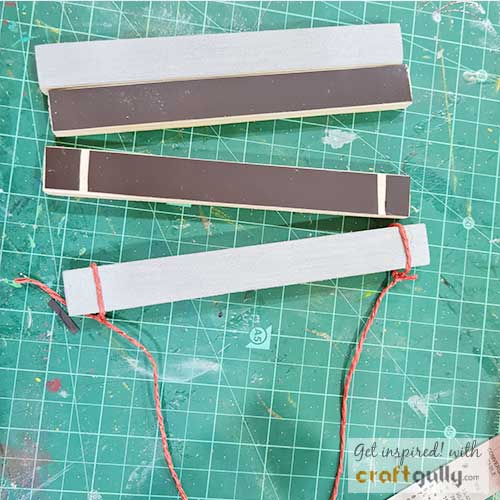
The magnetic frame is now complete. The paper or picture goes between the front and back of the wooden pieces. This is designed such that it can be used with any size of paper or picture.
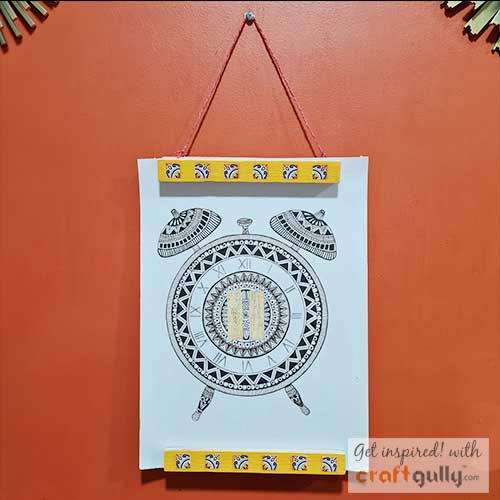
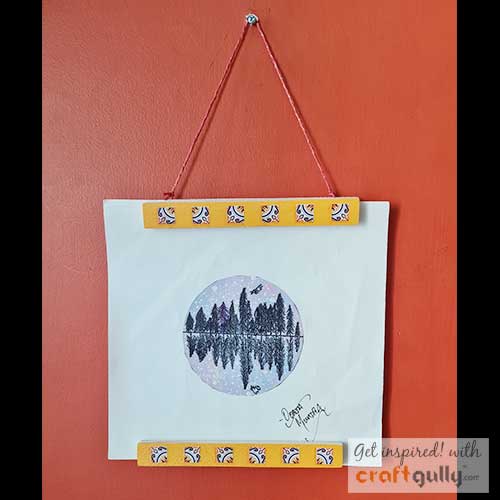
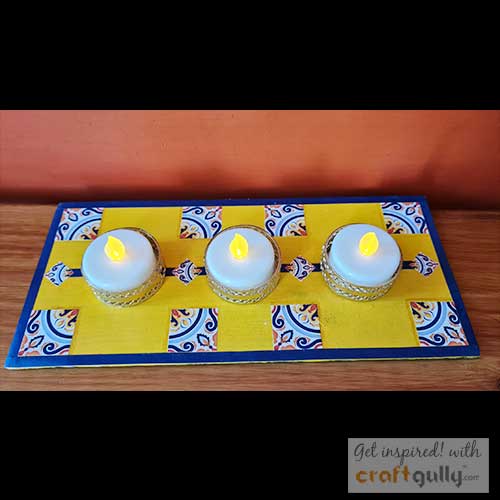
Moving on to the next piece of this project. For this I have repurposed an old book cover into a tea light stand.
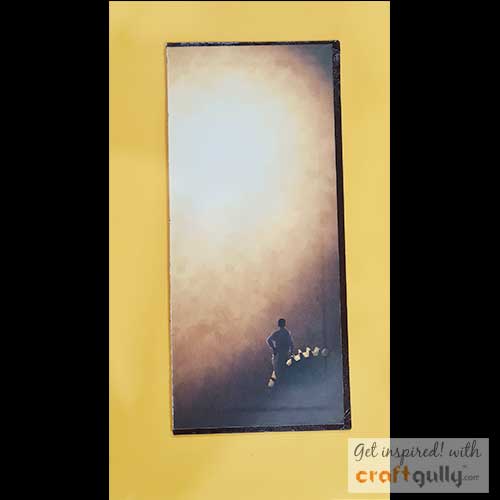
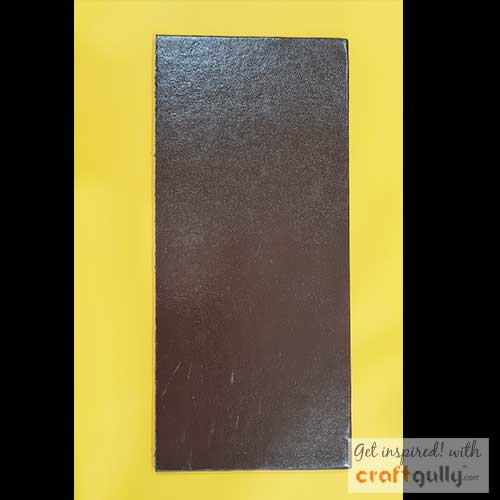
I sanded the edges, applied gesso as a base and then painted the surface golden yellow. I went with the same tile design and colour used in the previous piece. However, I have used the next size in the tile.
First, I applied a contrasting blue quilling strip along the edges. Then, I cut out the tile squares and decoupaged them in the corners and the middle, thus forming three sections on the base. I proceeded to give the highlights with an angle brush and brown paint, just like in the magnetic frame.
Then I placed golden tea light holders in the centre of the 3 segments. I connected the tea lights with a strip of blue quilling paper.
Next, I cut out the smallest pieces of the same tile and placed them across the middle blue strip.
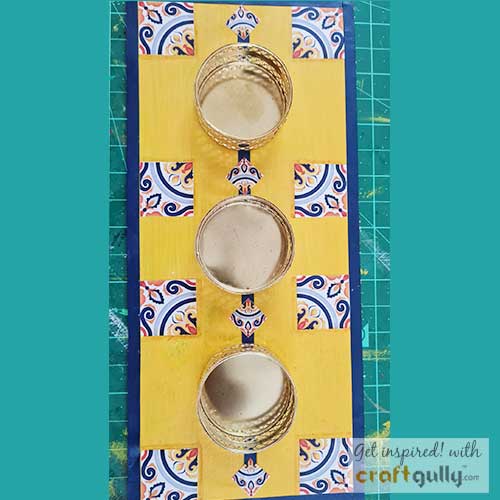
The design is now complete and ready to use.
Materials used
- Scrappy Tales - Tile Away Paper Decoupage Paper
- Creative Genie - Decoupage Glue
- Magnetic Strips
- Tealight Holders
- Wooden Dowels
- Thread
- Paints
- Brushes


Leave a Comment