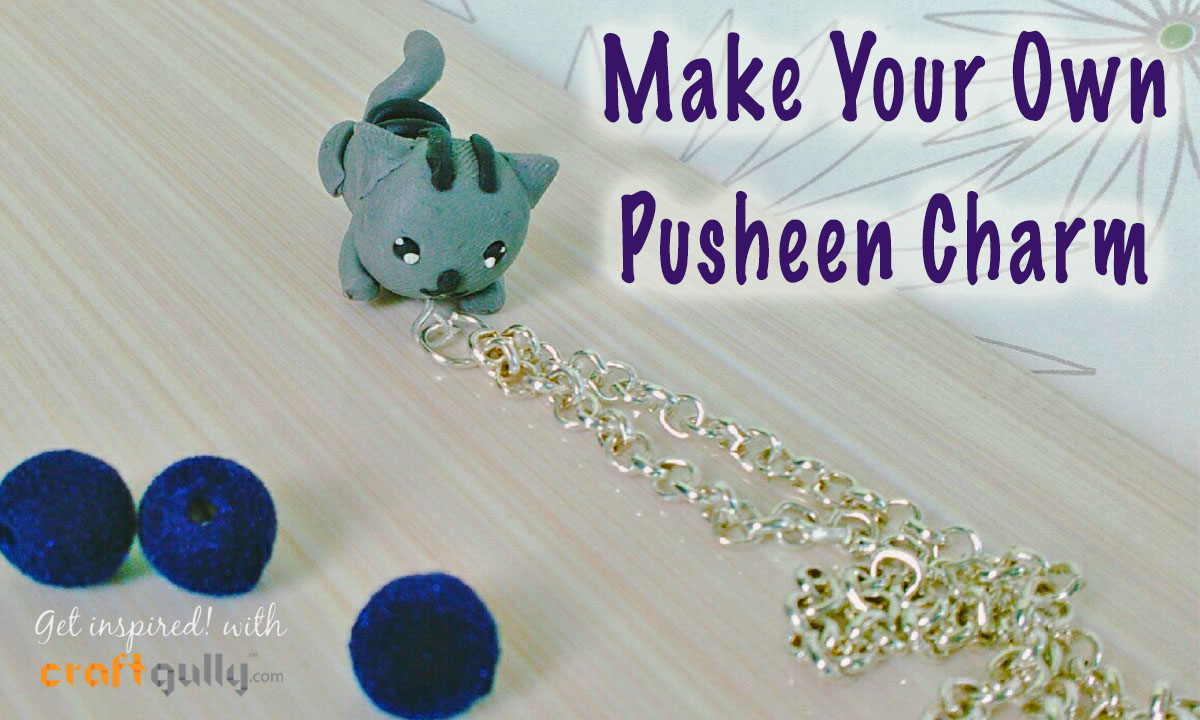
Make Your Own Pusheen Charm
Supplies you need
- Grey polymer clay
- Black polymer clay
- Eye pins
- Embossing tool
- Needle tool
- Knife
Instructions
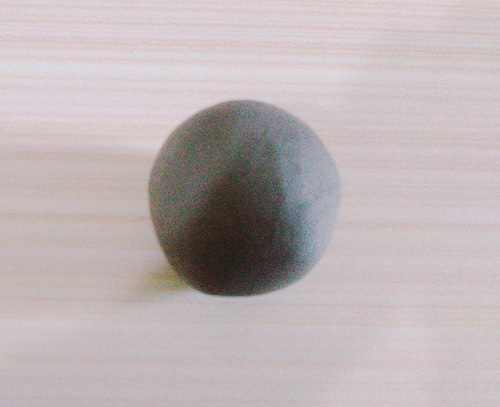
1. Start with making a round ball using the grey polymer clay for the head
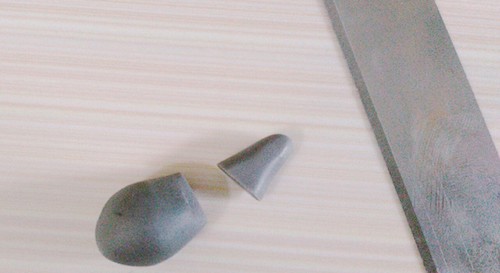
2. Next, take another piece of grey polymer clay, make a tear drop shape and cut off the pointed edge
3. Attach this piece to the head you had made earlier, and using the needle tool, smoothen out the joint. Here you have your head and body. It might not look like much right now, but hold on, and you'll see where it's going.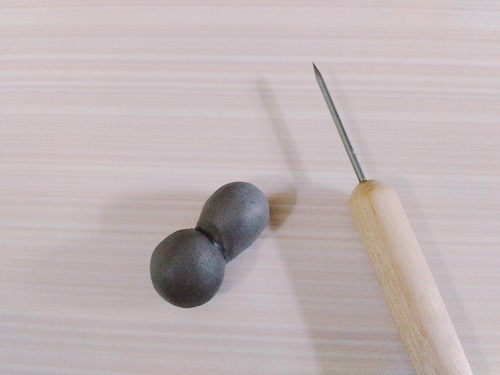
4. Next, take another piece of the grey polymer clay, and shape it into a diamond with your fingers.
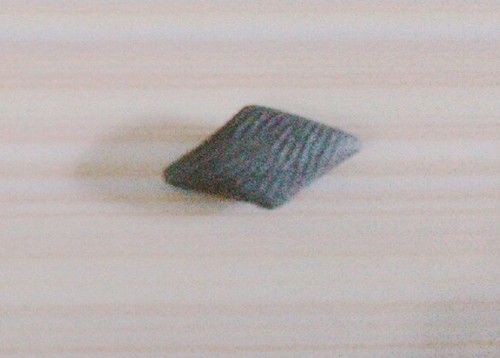
5. Now cut this from the middle, so that you now have two triangular shapes.
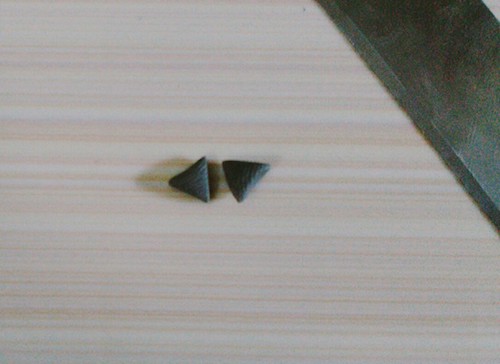
6. Next, attach both the triangles to the cat’s head, and using the needle tool, smoothen out the joints. Do you see the head taking shape? Looking more like a head isn’t it? Go on, it gets better.
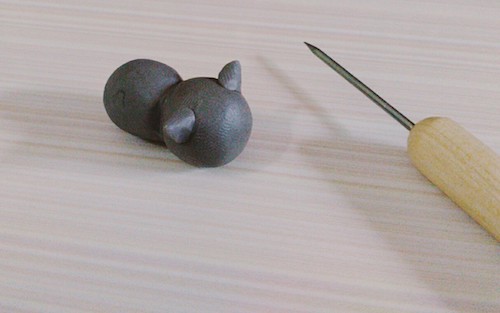
7. Now take some more of the grey polymer clay, shape it into a cylinder, and cut 5 pieces for the legs, hands and tail.
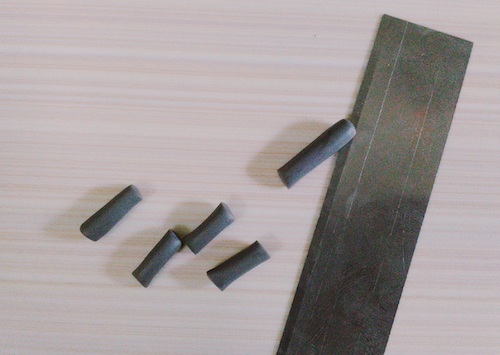
8. Shape one end of the pieces into a tear drop.
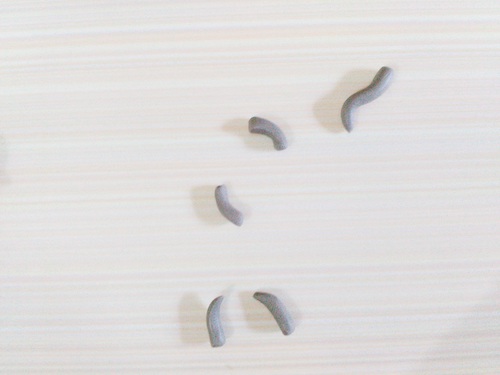
9. Now, attach all these pieces to the body, and smoother out the joints with the needle tool.
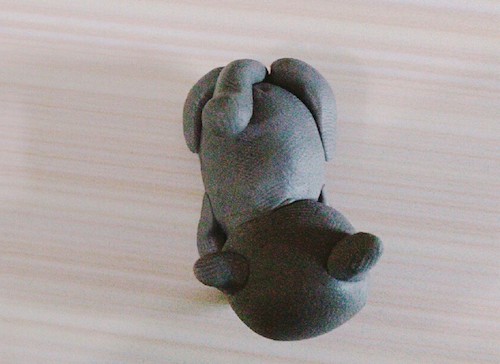
10. Next make two indents in the head with the help of embossing tool for the eyes.
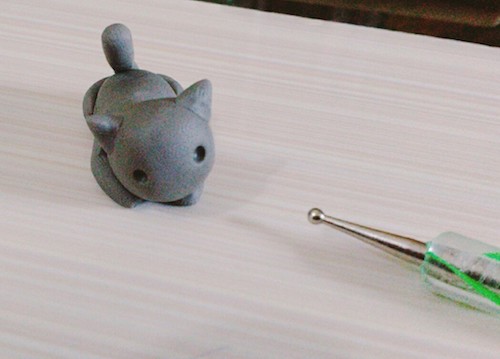
11. Next, make two small balls with black polymer clay, and attach them to the indents.
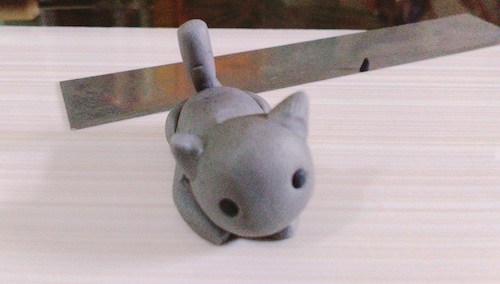
12. Take some more of the black polymer clay, and make the nose (another ball), the whiskers (cylindrical pieces with the edges spotted out), and the stripes for the head (cylindrical shapes). Attach these to the head, and smoothen the joints out with the needle tool.
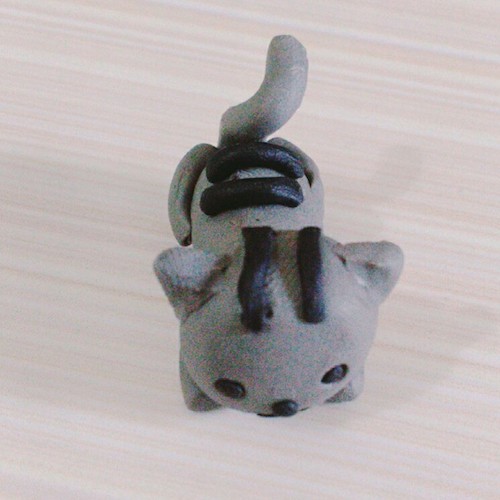
13. Insert an eye pin near the mouth, so that you will be able to use it as a charm. Bake it according to the instructions provided, and put on a coat of The Perfect Glaze to give it a glossy finish.
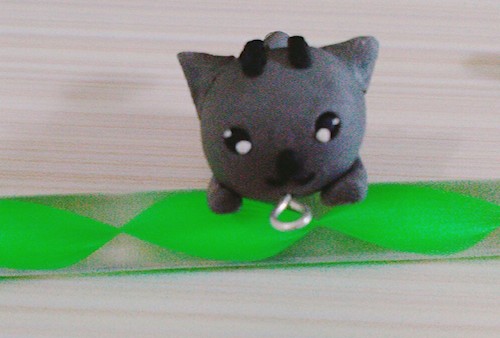
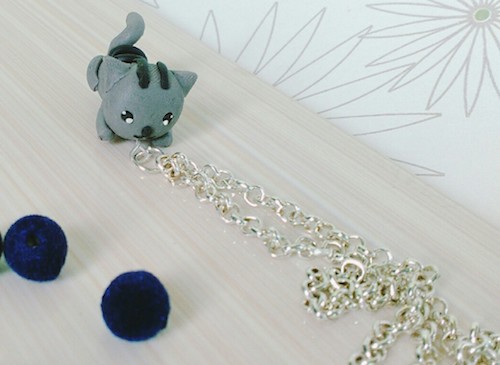
String a chain through the eye pin, and you are ready with your very own handmade Pusheen charm.


Leave a Comment