Quilling Fringed Flower
08 Nov
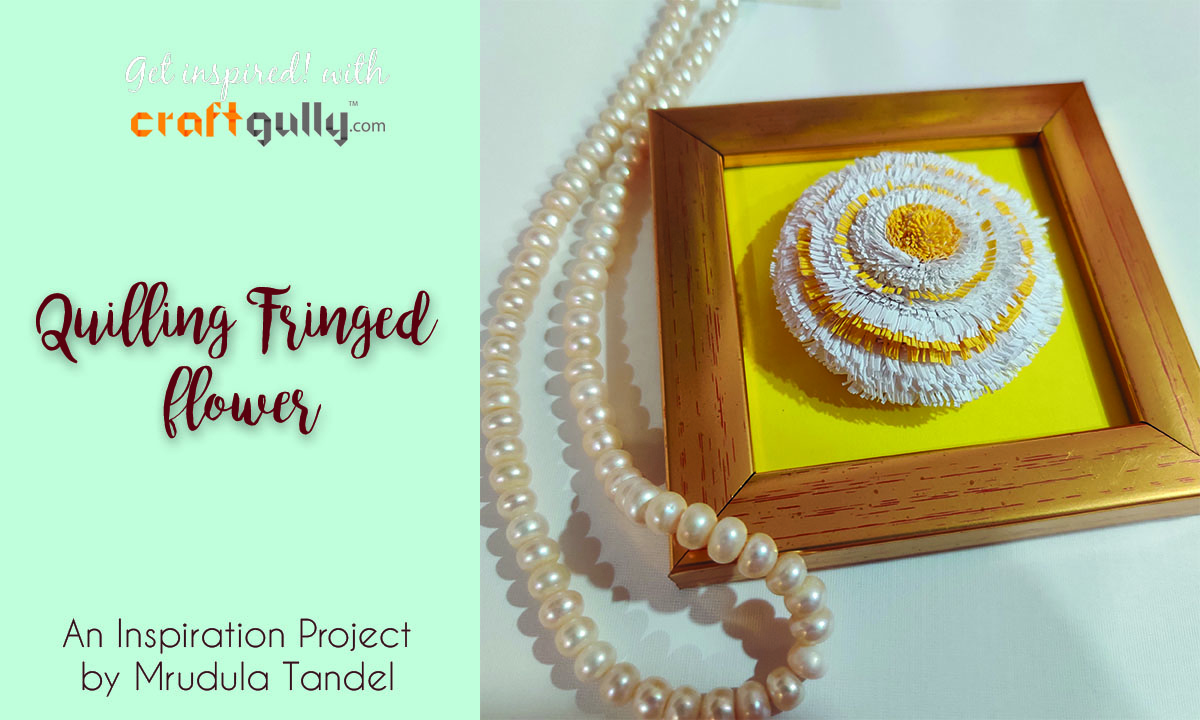

Less is More! Is that what you are looking for to decorate your space?
Go with this simple and cute mini frame from CraftGully and check out how it looks with this simple yellow flower that I made using the fringed quilling technique.
Go with this simple and cute mini frame from CraftGully and check out how it looks with this simple yellow flower that I made using the fringed quilling technique.
Step 1: Use 10mm paper quilling white strips from CraftGully. I have also used a 1mm yellow strip and pasted it on the edge of one of the white strips.
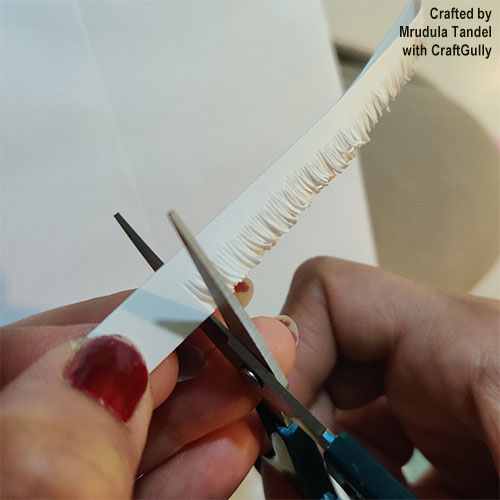
Step 2: Now using a sharp pair of scissors (fine tip scissors work best), cut the fringes to the half side of the strips as shown in the picture. Cut as fine as possible to get a great effect.
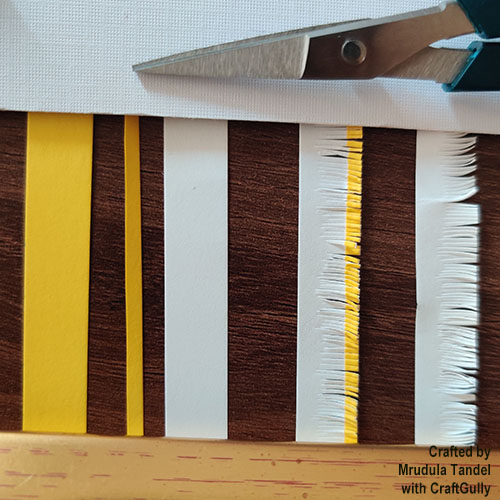
Step 3: I have glued a thick white strip on the other end of these strips. This step will add some more space when you roll the strips and the fringes will not be too close to each other.
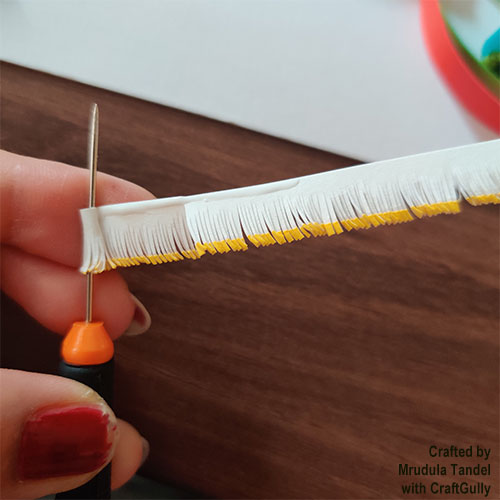
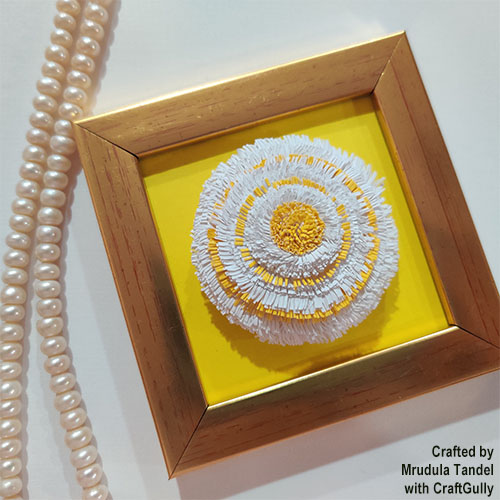
Step 4: Roll the fringed strips using a quilling needle and glue while rolling. Observe how I added here the yellow-edged strips in between to get a beautiful effect for the flower.
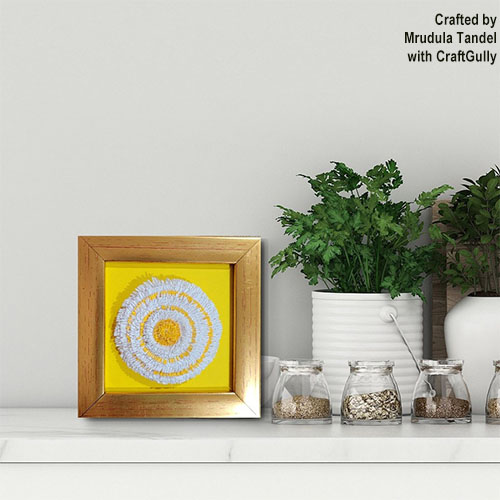
Now your big and simple flower is ready to be placed in the cute mini frame. You can use any of the background paper that you want. I have used here yellow paper from CraftGully's assorted set of 100gsm papers.
Decorate your space with this mini frame, either as wall decor or tabletop!
Decorate your space with this mini frame, either as wall decor or tabletop!
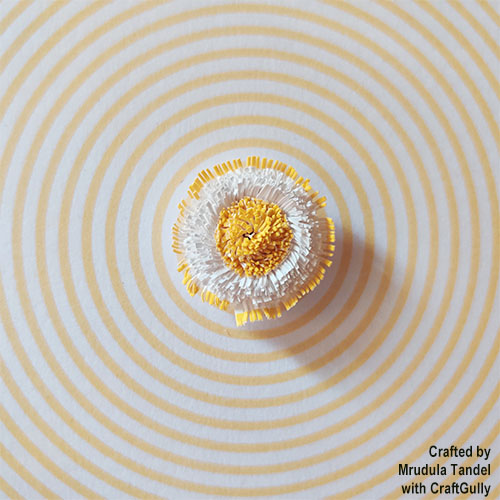
So, what do you think? Will you be making this? Let us know in the comments below.
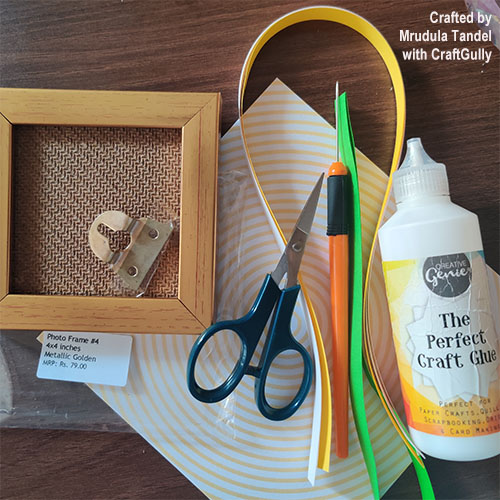
Materials used
Photo Frame #4 - 4x4 inches - Metallic Golden
Quilling strips 10mm - White
Papers A5 - 100gsm Assorted
The Perfect Craft Glue
Pair of sharp scissors
CraftGully Quilling Needle
Photo Frame #4 - 4x4 inches - Metallic Golden
Quilling strips 10mm - White
Papers A5 - 100gsm Assorted
The Perfect Craft Glue
Pair of sharp scissors
CraftGully Quilling Needle


Leave a Comment