Altered Art - A Step By Step Photo Tutorial
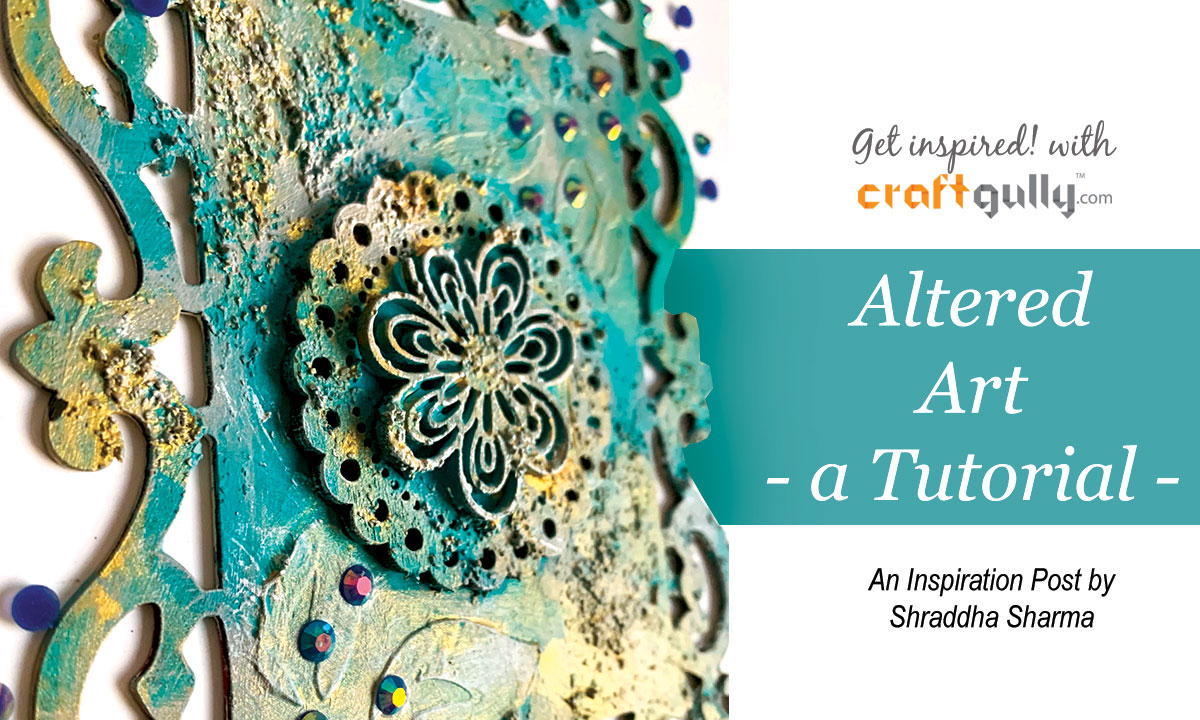
Kickoff this wonderful day with some beautiful craft idea, let’s make an altered art project with me.
My name is Shraddha Sharma, I am from Delhi. I am mixed media artist and paper crafter. I also do decoupage. I make handmade products and runs my own brand Creatif Edges.
Today, I am making this easy go project as guest designer for CraftGully.
When I got my guest DT kit, I was too excited to make this amazing simple and easy altered art to inspire you all.
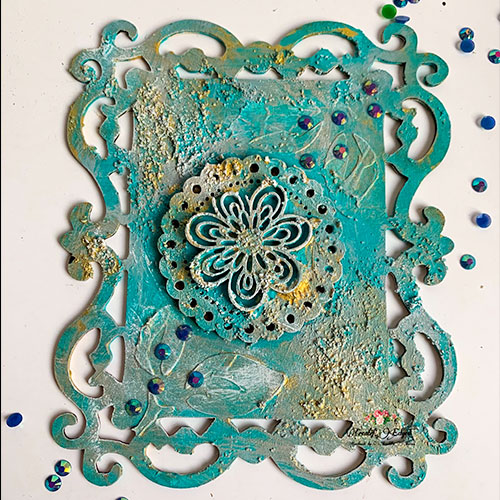
You just need a few CraftGully supplies and it’s good to go!!
Let’s dive into the tutorial !!
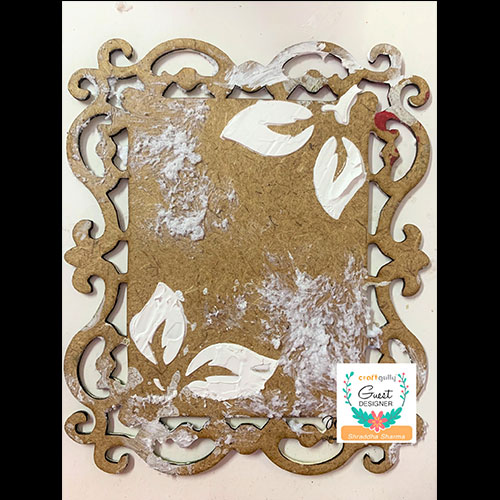
Step1: Take any piece of MDF as a base. I have taken frame shape MDF piece.
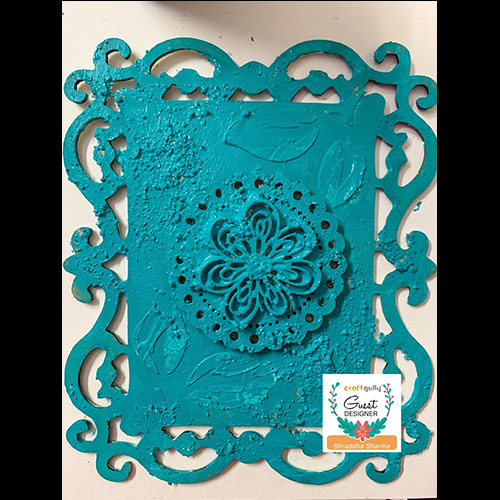
Step 2: I used Creative Genie Texture Paste and applied it on the adjacent corners of my frame with the help of CraftGully stencil. I also applied little bit ground texture paste here and there on my frame and Let it dry.
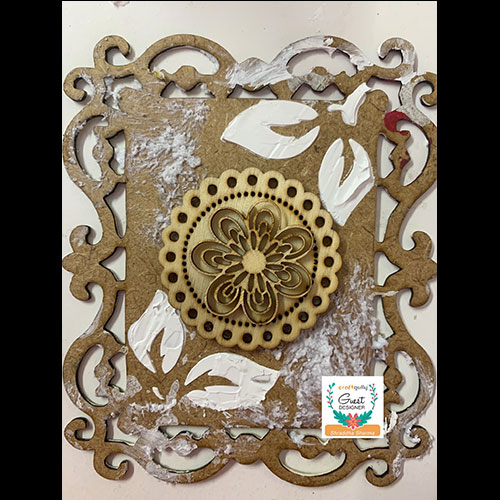
Step 3: After it dried, I pasted the CraftGully MDF embellishments on my project with help of The Perfect Craft Glue.
Step 4 : I used Creative Genie chalk paint (Jamaican Teal ) on all over place on my project. Let it dry. To give my project little bit antique look, I applied Creative Genie chalk paint (Pewter Grey) here and there on my frame and also used Creative Genie metallic gold to add some shine to it. I also used the white paint in the end just to highlight embellishments and texture of my project.
Step 5: Lastly, I decorated my project with mini resin rhinestones from CraftGully.
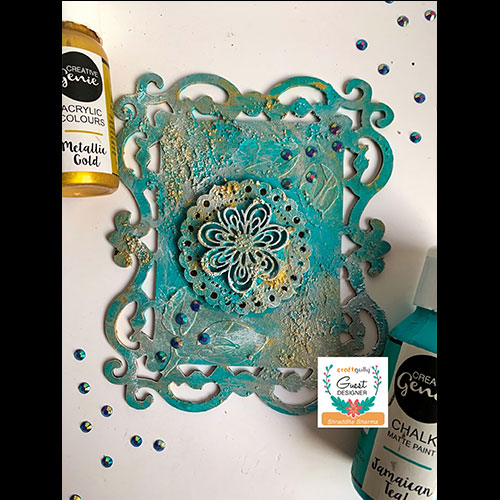
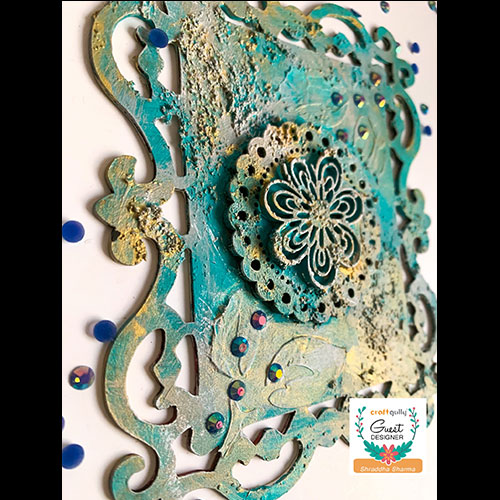
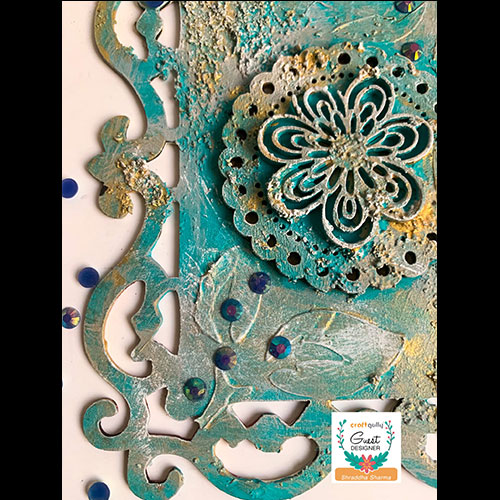
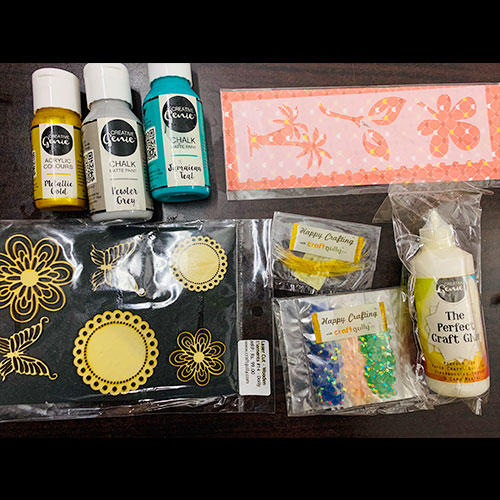
Materials used in this project
- Creative Genie Chalk Paints - Jamaican Teal, Pewter Grey
- Creative Genie Acrylic Paints - Metallic Gold
- Laser Cut Wooden Elements
- Stencils
- Resin Rhinestones
- The Perfect Craft Glue
- Creative Genie Modelling Paste
- MDF Base
I hope you enjoyed this easy tutorial.
Thanks
Shraddha Sharma
Creatif Edges


Leave a Comment